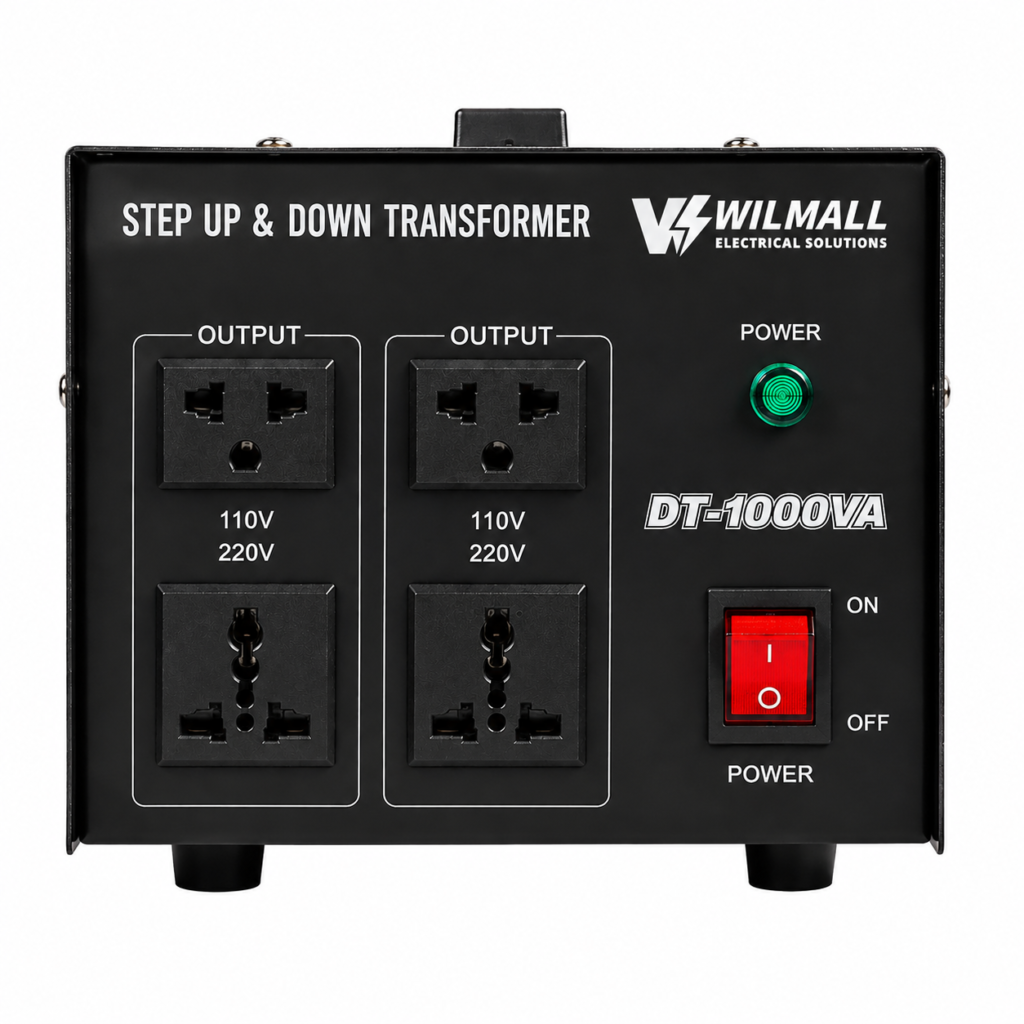
Step Down Transformer Wiring Diagram: 220V to 110V Setup
A step down transformer is only as good as its wiring. We have seen plenty of perfectly good transformers come back as “faulty” when the real problem was a terminal connected wrong, a loose nut, or a wire that was never meant to carry that current. The good news is that wiring a step down transformer is simple once you understand the three groups of terminals on the case and the order in which you connect them. This guide walks through the standard 220V to 110V setup step by step, explains the dual-tap versions, and covers the safety rules that keep the job boring and safe.
The three terminal groups you need to know
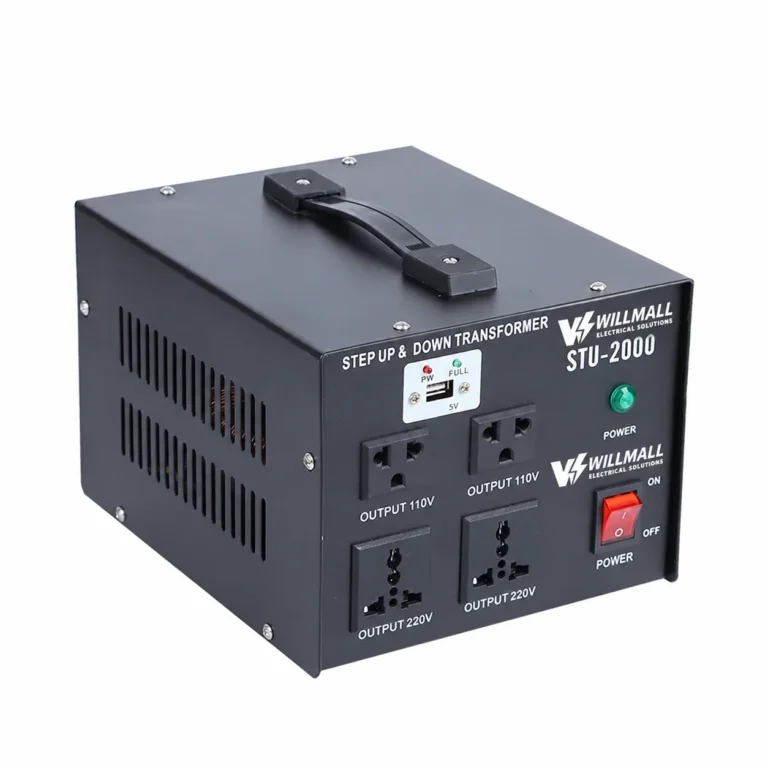
Open the cover of any step down transformer and you will find three groups of terminals. The first is the primary side – the input, marked for the mains voltage like 220V. The second is the secondary side – the output, marked 110V. The third is the ground terminal, usually marked with the earth symbol or the letters PE. Everything else on the case is decoration until you understand which is which.
The primary and secondary are electrically separate – that is what makes it a transformer. The only connection between them is through the magnetic core. That separation is your safety margin, and it is why you can touch the secondary side safely when the primary is powered, as long as the transformer is grounded and undamaged. The ground terminal ties the metal case to earth so that a fault inside has a safe path instead of making the case live.
What you need before you start
- A wiring diagram for your unit. The terminal layout is printed on the case or in the manual – follow it, not a generic picture from the internet.
- Wire sized for the current. The secondary carries more current than the primary for the same watts, so it needs thicker wire. 2000VA at 110V is about 18A – that wants 2.5mm² or heavier.
- A proper terminal screwdriver. Torque matters more than people think; a loose terminal is a fire risk over months of vibration.
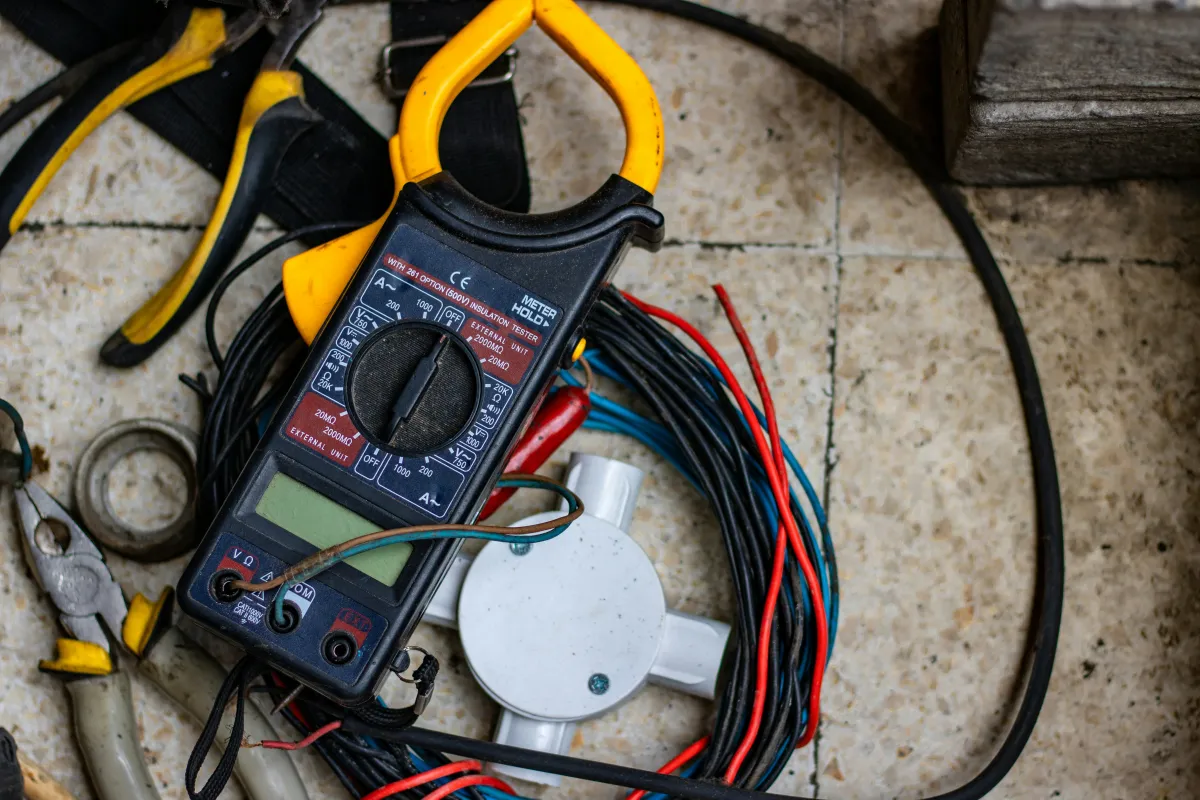
- A multimeter. To verify voltages before and after connecting the load.
- Heat-shrink or tape. For insulating the connections if the terminals are not enclosed.
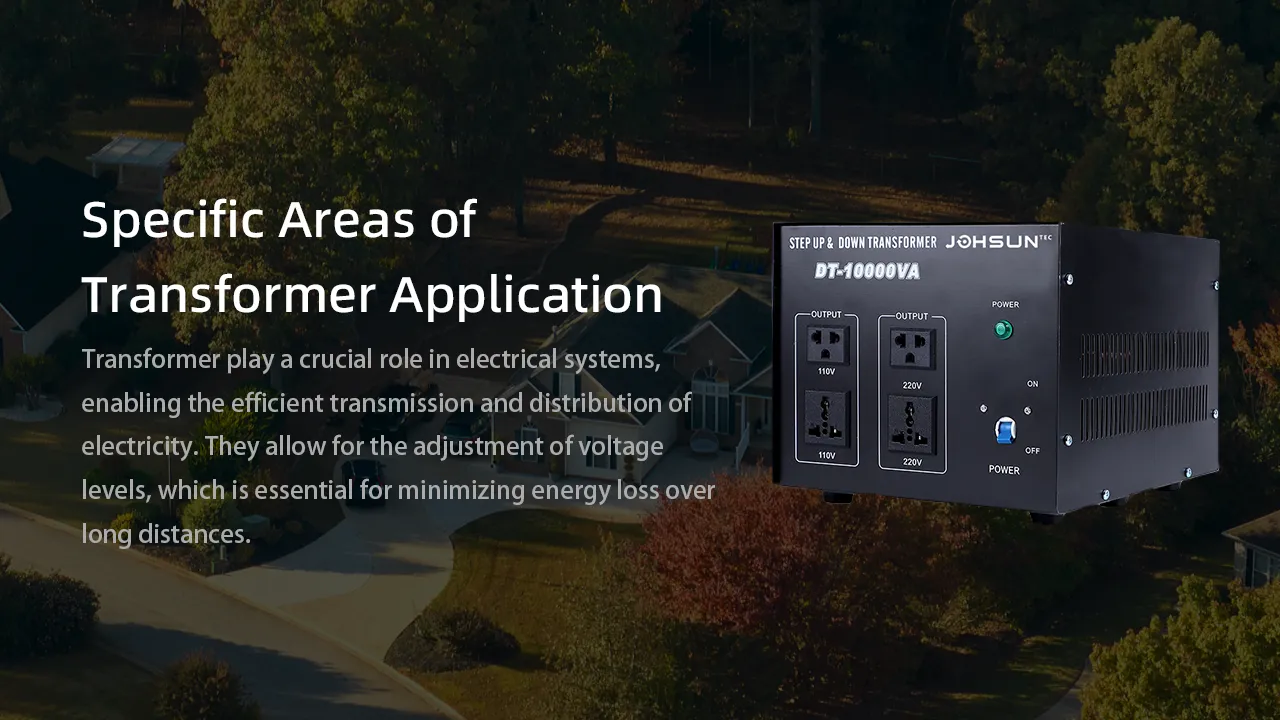
Standard 220V to 110V wiring, step by step
Disconnect the transformer from the wall before you touch anything. The steps are the same whether you are wiring a 500VA unit or a 5000VA one, only the wire thickness changes.
| Step | What to do | Why |
|---|---|---|
| 1. Mount the unit | Fix it upright with airflow around it | Heat needs to escape; block the vents and you cook the varnish |
| 2. Ground first | Connect the PE terminal to earth | The case must never become live – this is your safety net |
| 3. Wire the primary | Live and neutral to the 220V terminals | Mains goes to the input side only |
| 4. Wire the secondary | Load wires to the 110V terminals | The appliance connects here, never to the primary |
| 5. Check with a meter | Voltage test on the secondary before load | 110V out confirms the wiring before anything is plugged in |
| 6. Connect the load | Plug or wire the appliance in | Test with the appliance off first, then run it |
The order matters for one reason: verifying before connecting. A meter check between steps 5 and 6 catches a reversed primary or a wrong tap before it does any damage. If the secondary reads roughly the rated voltage – 110V, give or take a few percent – the transformer is wired right and the load can go on.
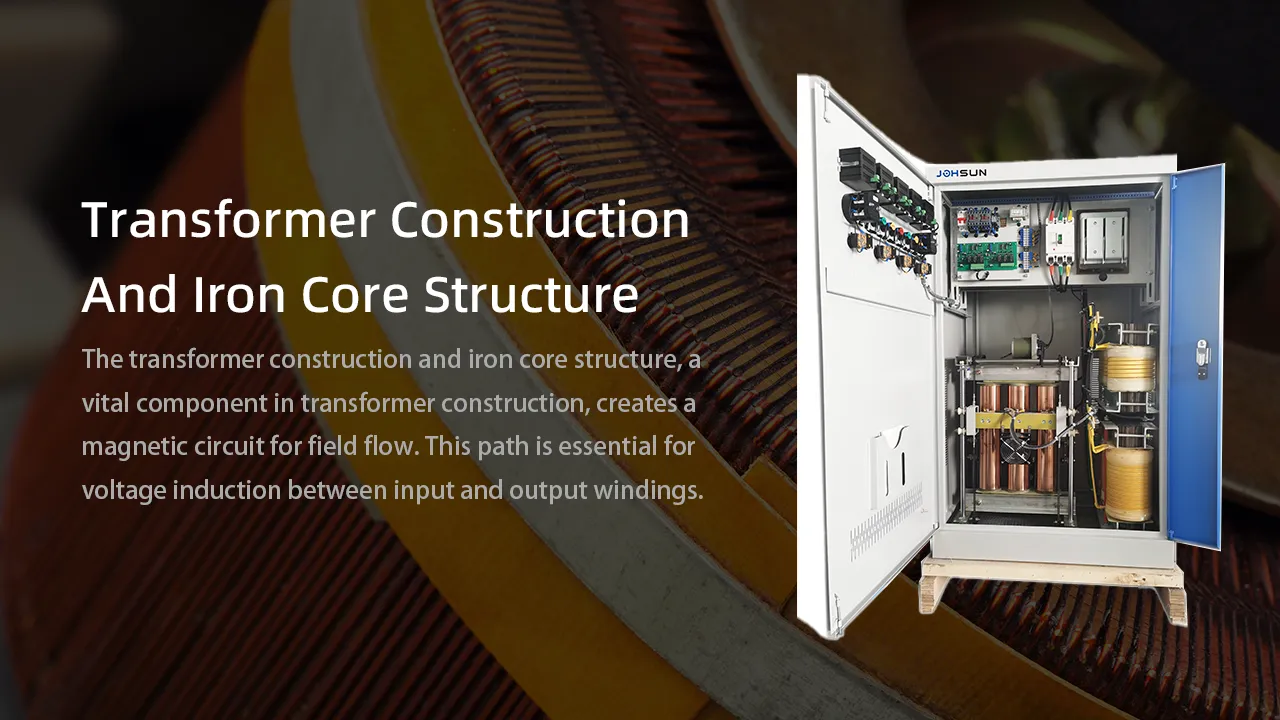
Dual-tap transformers: 110-0-110 wiring
Some step down transformers come with a dual-tap secondary, marked 0-110-110 or 110-0-110. That gives you two 110V outputs, or a 220V output if you connect them in series, or a single 220V input with two independent 110V circuits. The wiring depends on what you need, and the labels on the terminals tell you which pairs to bridge.
For two separate 110V circuits, connect the live to one 110V terminal, neutral to the other, and leave the centre tap floating or grounded as the manual says. For a single 110V output at higher current, bridge the two 110V terminals in parallel. If you are not sure which configuration your unit supports, read the diagram printed on it – and if it is missing, send us a photo of the terminals and we will tell you.
Safety rules that are not optional
- Never work live. Disconnect, wait a minute, then verify with a meter that it is dead.
- Ground the case. A transformer without a ground is a shock waiting for a fault.
- Match the wire to the current. Thin wire on the secondary is how fires start.
- Use the right input terminal. 220V into a 110V tap gives you 55V out and a hot transformer – the reverse is worse.
- Check for the smell. Burning varnish is the first sign of an overloaded or wrongly wired unit.
Common wiring mistakes
The three mistakes we see most are the same every time. Wiring the appliance into the primary instead of the secondary – which sends 220V straight into a 110V appliance. Reversing the primary connections, which usually trips the breaker and is caught early. And using wire that is too thin for the secondary current, which runs warm now and hot later. All three are avoided by reading the labels and testing before connecting the load.
If your transformer keeps tripping or runs hot after wiring, check the connections first, then the load, then the transformer itself. A wiring fault is far more common than a transformer fault, and it is free to fix.
Testing the wiring before you connect the load
Before anything is plugged in, run a no-load test. With the transformer powered and nothing on the secondary, the output should read the rated voltage – 110V, give or take a few percent. A reading that is far off usually means the input is on the wrong tap, so check the primary connections first. A transformer that reads right with no load will read right under load, as long as it is sized properly.
Then test under load. Plug the appliance in and measure the secondary again – it will dip a little, and a dip of a few percent is normal. If it sags more than that, the transformer is undersized or the wire between it and the load is too thin. That is the moment to catch it, before the appliance starts misbehaving in daily use. A voltmeter in the hand is worth a technician on the phone.
What the labels actually mean
Transformer labels look like a code, but they are simple once you decode them. The input voltage is marked with the mains rating – 220V or 240V – and the output with the load rating, 110V or 120V. The VA number is the power capacity, and the terminals are usually marked 1-2 for the primary and 3-4 for the secondary, or with the voltages directly. The ground symbol is not decorative.
If your unit has a terminal marked with two voltage options, like 0-220-240, the 0 terminal is the common and you choose which tap matches your mains. Wiring to the wrong tap runs the transformer at the wrong ratio – a 240V mains on a 220V tap gives you slightly high output, and the reverse gives you low output and a hot unit. When in doubt, the label is the truth, and a photo of it to us is the fastest way to get it right.
Frequently asked questions
Which side of the transformer is the input?
The primary side is the input, marked with your mains voltage like 220V or 240V. The secondary is the output, marked 110V or 120V. Wire the mains to the primary and the appliance to the secondary.
How do I wire a 110-0-110 dual-tap transformer?
For two independent 110V circuits, connect live and neutral to the two 110V terminals. For one higher-current 110V output, bridge the two 110V taps in parallel. Follow the diagram printed on the unit.
Do I need to ground a step down transformer?
Yes. The ground terminal ties the metal case to earth so a fault has a safe path instead of making the case live. Never skip the ground connection.
What wire size do I need for the secondary?
Size the wire for the output current: 2000VA at 110V is about 18A, which needs at least 2.5mm². The secondary always carries more current than the primary for the same wattage, so it needs thicker wire.
Why is my transformer hot after wiring?
Check three things: is the input on the right terminals, is the wire thick enough for the current, and is the load within the VA rating? A wiring fault or undersized wire is far more common than a transformer fault.
Related reading
- Step Down Transformer 220V to 110V: Sizing and Safety
- Step Down Transformer Keeps Tripping: Causes and Fixes
- Step Up and Step Down Transformer Range
Get a factory-direct quote
Email sales@wilmall.com or WhatsApp +86 197 3022 6757 with your voltage needs. We confirm the unit within 24 hours. MOQ 10 pcs.