How to Wire and Install a Low Voltage Transformer Safely
Wiring a low voltage transformer is one of those jobs that looks intimidating and turns out to be mostly about reading labels and tightening screws in the right order. The low voltage side of the system, the 12V or 24V going to your lights, is genuinely safe to work on. The mains side is not, and that is where the care has to go.
I work at a transformer factory in Yueqing, China, and I have talked dozens of buyers through this exact installation over WhatsApp, photo by photo. This guide lays out the order we use, the checks that prevent most problems, and the honest line about when you should call an electrician instead of me.
Before You Touch Anything: Kill the Power and Read the Labels
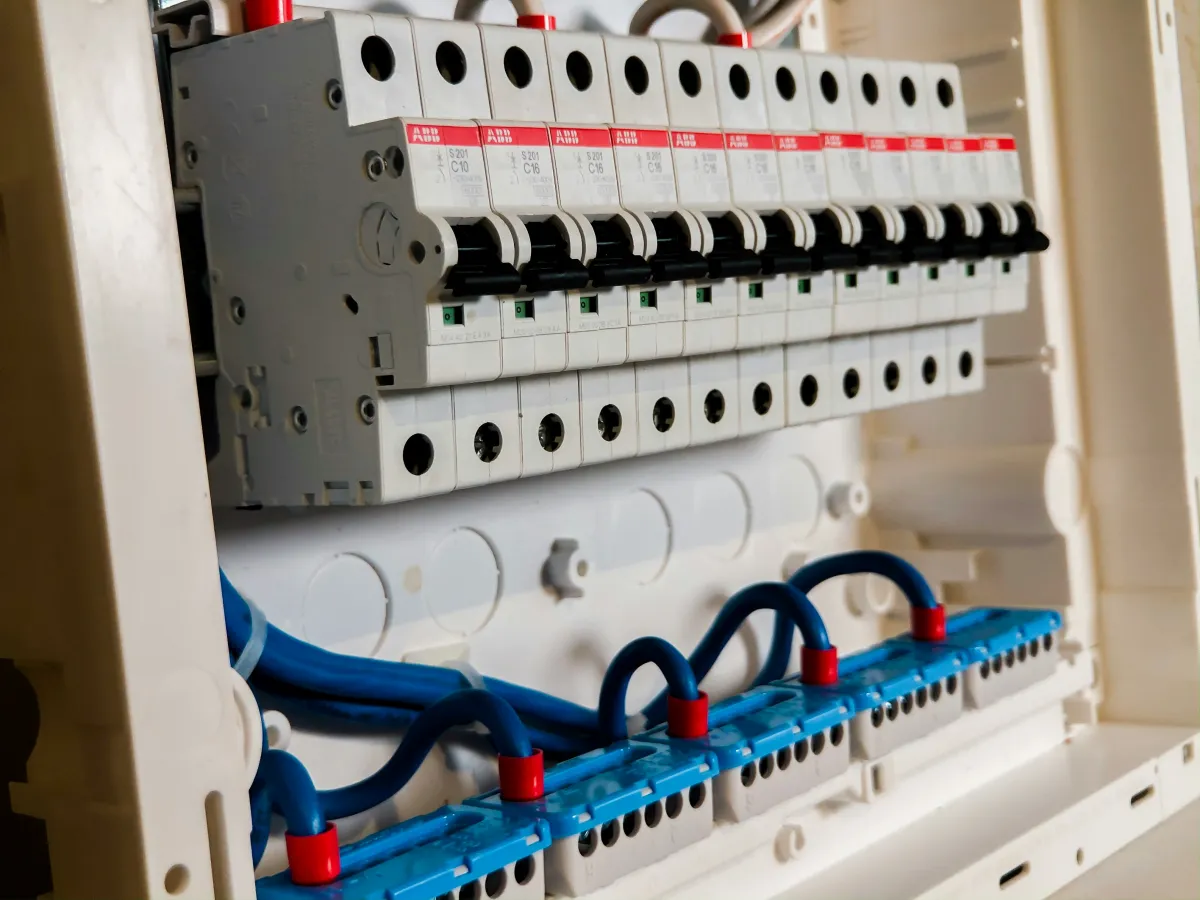
The first step is not a wire. It is the circuit breaker. Whatever supply feeds your transformer, switch it off, and if you cannot be certain which breaker it is, switch off the main. Then put a note on the panel so nobody switches it back on while you are working. This sounds obvious, and it is exactly the step people skip when they are in a hurry.
While the power is off, read every label in front of you. The transformer nameplate tells you the input voltage it expects, the output voltage it delivers, the VA rating and the frequency. The fixtures tell you their voltage. If the transformer output and the fixture voltage do not match, stop here, because no amount of careful wiring fixes a 24V fixture on a 12V output. Get the matching unit first.
Check your local rules honestly. In many places, connecting a permanently wired mains circuit is work for a licensed electrician, and the transformer input counts as a mains circuit even though the output is low voltage. If your project needs a permit or an inspection, factor that in before you start.
Mount the Transformer First, Wire It Second
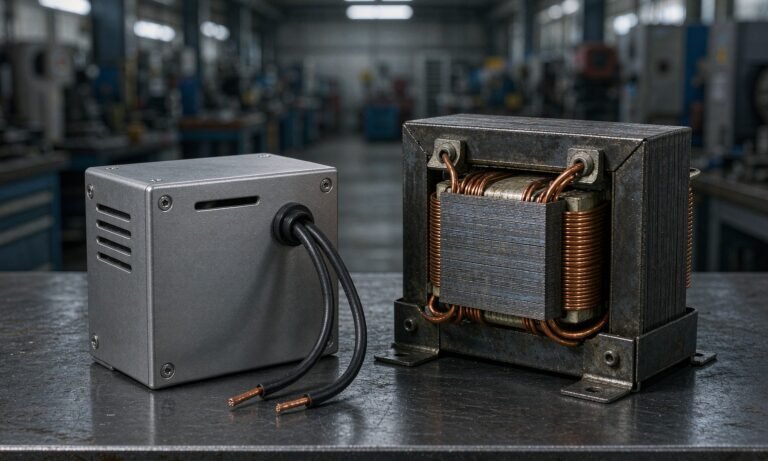
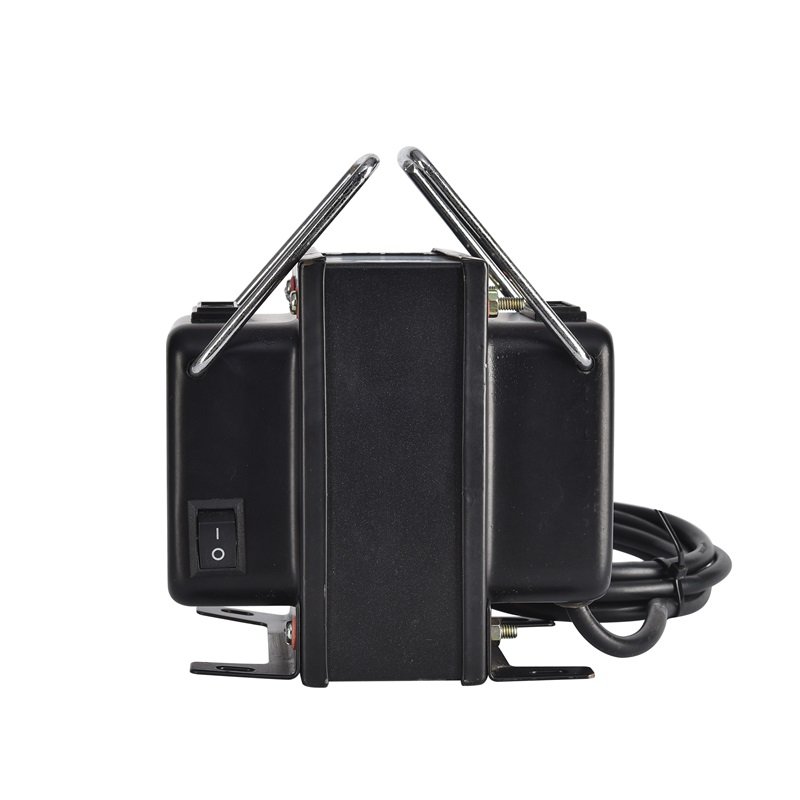
Mounting comes before wiring, because a transformer that is not firmly fixed cannot be wired neatly. Choose a dry, ventilated spot, away from heat sources and out of reach of children. Leave clearance around the box on all sides; a transformer needs airflow to shed the heat it makes under load, and a unit stuffed into a sealed cabinet will cook itself over time.
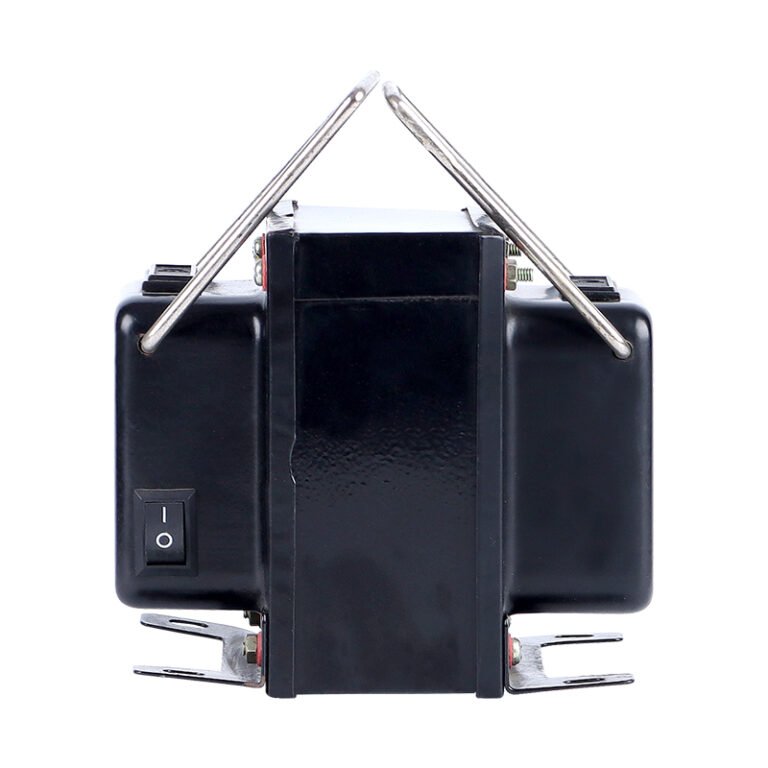
Use the mounting holes and the keyhole slots on the case, and fix it to a solid surface, not to thin plywood that flexes. A loose mounting is the classic cause of a loud humming transformer, because the vibration of the core turns the whole panel into a drum. Rubber mounting pads, if your unit came with them, are there to quiet that down, so use them.
Get the orientation right too. Most low voltage transformers are built to mount with terminals accessible and ventilation slots unblocked. Read the little diagram on the nameplate, it shows which way up the unit is designed to run. Mounting a transformer upside down because the cable reaches better is a mistake you will regret at the first hot day.
Wiring the Input Side: Where the Mains Goes
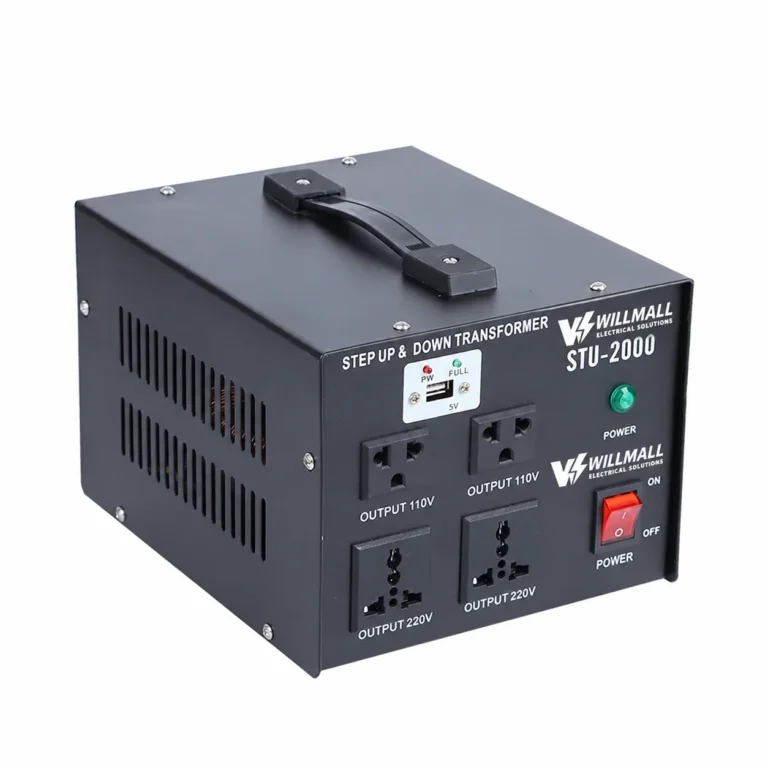
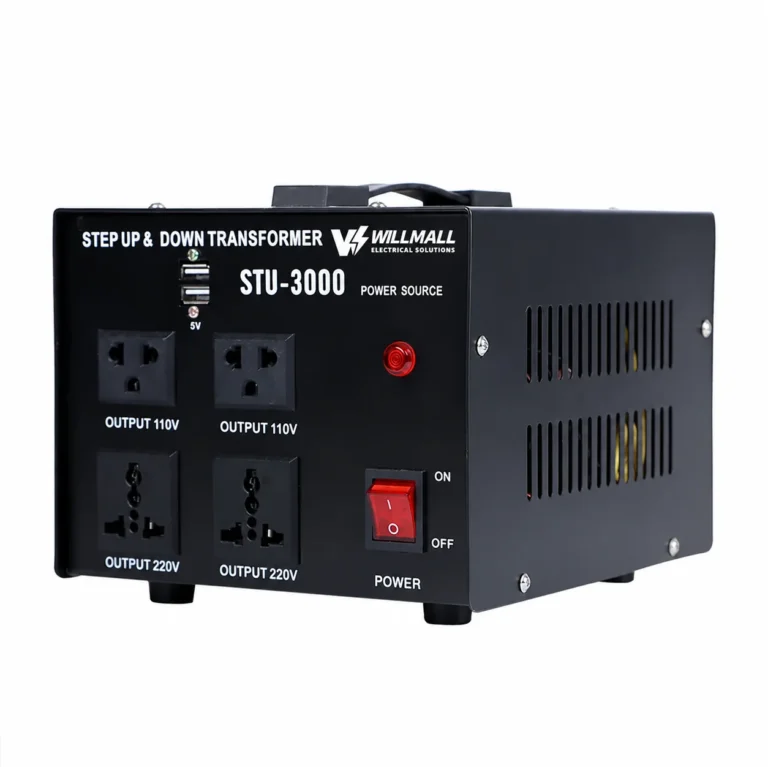
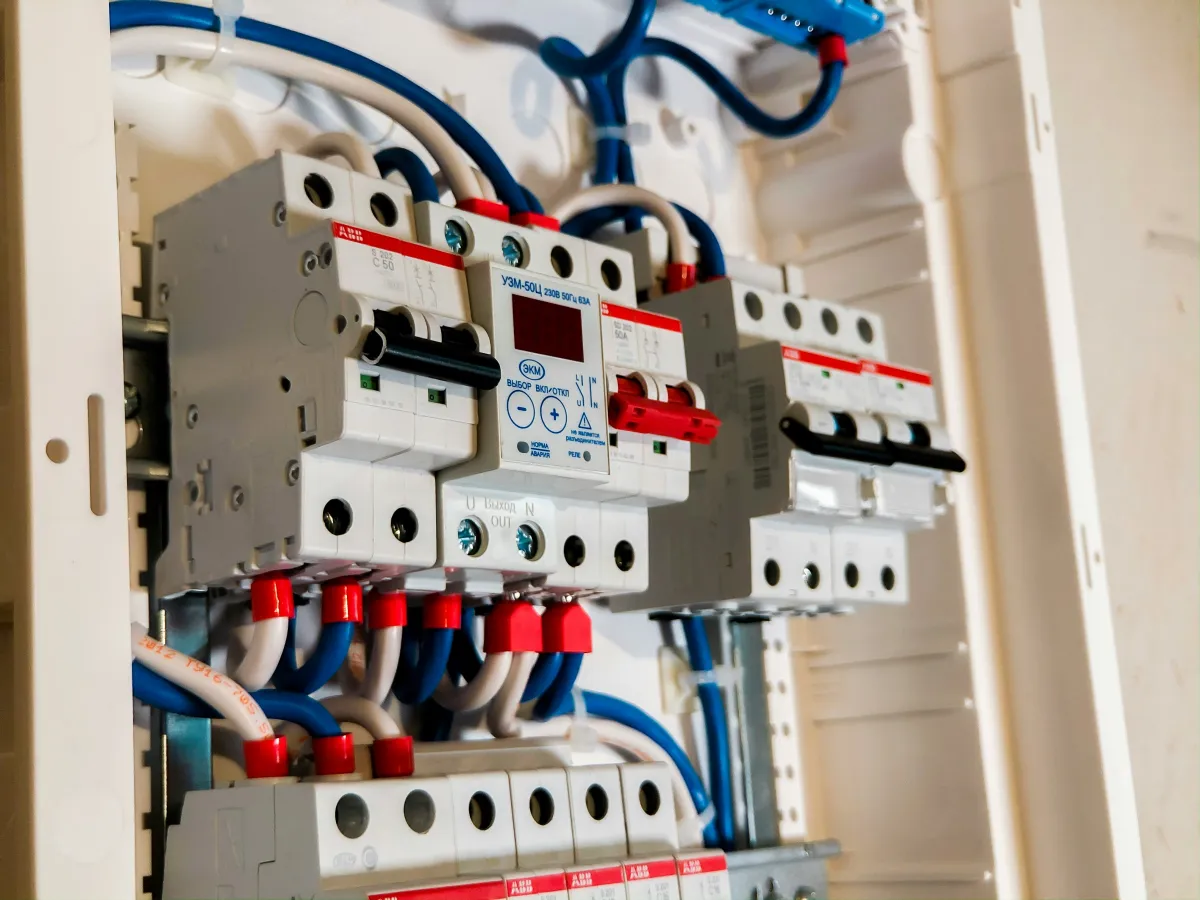
The input terminals are marked, usually L and N for a single-phase supply, sometimes with a ground terminal in between. Connect the live and neutral wires from your supply to those marked terminals, and make sure the transformer is off and isolated while you do it. If your unit offers multiple input taps, say 220V and 380V, connect the supply to the tap that matches your actual mains. Wiring 380V to a 220V tap is a fast way to damage the unit.
Use the right cable size for the input current, and terminate every strand under the screw. A single stray strand touching the neighbouring terminal is a short circuit waiting for a knock. Pull gently on each wire after tightening to confirm it is held, then tidy the cable so it cannot rest against the terminals of the other side.
If your transformer is a hardwired unit rather than a plug-in model, the mains connection must include proper overcurrent protection on the supply side. That is not a suggestion; the fuse or breaker protects the cable and the unit. If you are not confident which rating your installation needs, that is the moment to involve an electrician, because guessing here is what causes panel fires.
Wiring the Output Side: Low Voltage Cable Done Right
With the input connected, the output side is comparatively relaxed. Connect the 12V, 24V or 36V cable to the secondary terminals marked accordingly. Polarity matters less on an AC output, since alternating current swaps direction anyway, but keep the two secondary wires identified so you can trace them later, and keep the low voltage cable physically separate from the mains cable where they run together.
Size the secondary cable for the run length, not just for the current. As we keep telling buyers, voltage drop along thin cable dims the far fixtures, and no transformer can compensate for a cable that is too small. If the fixtures sit a long way off, use thicker cable, or consider moving the transformer closer to the load instead of running one very long skinny line.
Keep every low voltage connection clean and dry. Outside, use weatherproof connectors or solder and seal the joints, because a damp splice corrodes slowly and fails in the third year, not the third week. Bury the cable at the depth your local rules require, and route it away from shovel territory where you can.
Grounding, Fusing and the Connections Nobody Sees
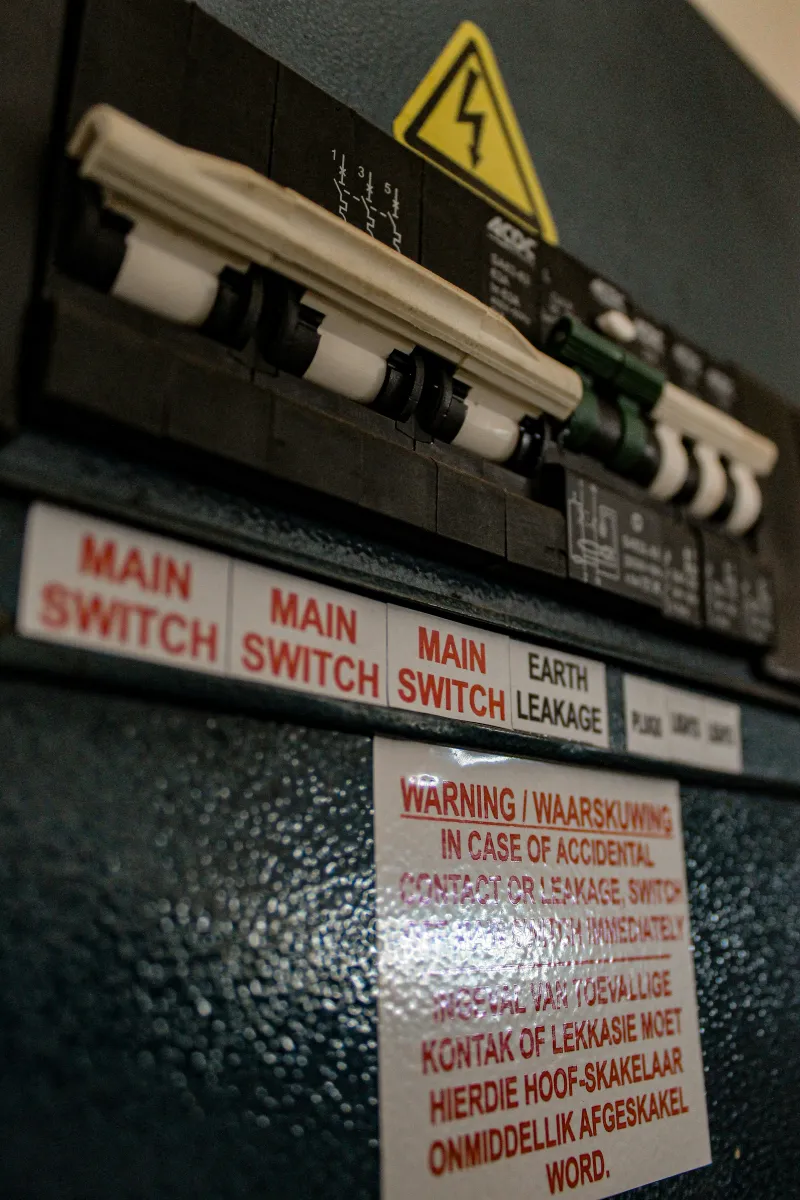
Grounding is where DIY installs most often go wrong, because the ground terminal gets treated as optional. On the input side, the ground connection and the earthing arrangement matter for safety, and the correct setup depends on your building’s wiring and your local code. A unit can run without its ground connected, right up until the day it saves you from a shock, so connect it properly and check it. Our transformer grounding and earthing guide explains the why behind each connection.
Two more invisible details. First, torque the terminals properly, not loose enough to arc and not so hard you strip the screw. Second, strain-relieve every cable where it leaves the unit, so a pulled cable cannot yank the wires off the terminals. A small cable gland or a zip-tie anchor does the job, and it prevents most intermittent faults that appear weeks later.
If you bought a unit with a thermal cutoff or an internal fuse, understand what it protects and what it does not. The cutoff guards the transformer against overload; it is not a substitute for the supply-side breaker that protects your building wiring. The two protections work together, not instead of each other.
Testing Before You Connect the Load
Here is the sequence we use at the factory and the one we tell buyers to copy. Before you connect any fixtures, power the transformer up alone and measure the output terminals with a multimeter. You should see something close to the rated secondary voltage, give or take a few percent at no load. If the reading is wildly wrong or absent, stop and check the input wiring before you attach anything.
Only after the no-load test passes do you connect your fixtures, and even then, do it in stages if you have many lamps. Connect one group, confirm it lights, then the next. This staging turns a blown fuse or a reversed connection into a small problem instead of a mystery across the whole system. Our guide on how to check a transformer with a multimeter walks through the readings and what each one means.
After an hour of running, go back and feel the transformer case and check the far-end fixtures. Warm is normal. Hot enough that you cannot hold your hand on it means something is wrong, usually an overloaded secondary or a cable fault, and it needs fixing now, not next month.
What the Factory Can Help With After Installation
If your installation runs into trouble, you do not have to guess alone. Send us a photo of the nameplate, a photo of the terminal wiring and the readings from your multimeter, and we will tell you what looks wrong. Nine times out of ten we can spot the issue from the pictures, a swapped tap, a loose neutral, an undersized cable, and talk you through the fix over WhatsApp the same day.
Every transformer we ship is wound with copper and tested under load before it leaves the factory, and the 12-month warranty covers the unit itself. What we cannot do is see your wiring from here, so help us help you by sending clear photos. For anything involving opening your distribution panel, if you have any doubt at all, use a licensed electrician, that is not a sales pitch, it is the difference between a cheap fix and an expensive insurance claim.
If you are still in the planning stage, our transformer FAQ covers more of the common pre-purchase questions, from VA sizing to voltage matching, so you can order the right unit the first time and keep the installation straightforward.
Low Voltage Transformer Wiring Questions
These are the installation questions that come up most in our buyer conversations.
Can I wire a low voltage transformer myself?
The low voltage output side is safe for a careful DIYer to connect, but the input side of a low voltage transformer connects to mains and should only be wired by someone competent, in many regions a licensed electrician. When in doubt, have the mains connection done professionally and do the fixture wiring yourself.
How do I know which input terminal is which on a low voltage transformer?
Read the terminal markings on the case of your low voltage transformer. Single-phase units mark the mains terminals L and N, and a separate ground terminal where earthing is required. Multi-tap units label each input voltage clearly. If the markings are unclear, do not guess, send us a photo and we will identify the terminals for you.
Why does my low voltage transformer trip the breaker when I connect it?
A breaker tripping when you wire a low voltage transformer usually means a short circuit on the output side, a reversed or touching wire, or a load fault. Disconnect everything, test the transformer alone, then reconnect your fixtures one group at a time. If it still trips with no load, the unit may be faulty, contact us.
Do I need to ground the secondary side of a low voltage transformer?
For a low voltage transformer feeding 12V or 24V lighting, the secondary is normally left ungrounded and floats, which is part of why it is safe to touch. The input side and the transformer case are what need correct grounding. Follow your local code and the wiring diagram on the unit.
Can a low voltage transformer be installed outdoors?
The low voltage transformer itself should sit in a dry, protected location because its input side is mains voltage. Some units have weatherproof enclosures, but the safest practice is mounting it under cover, in a garage or in a weatherproof box, and running only the low voltage cable out to the fixtures.
Bought a transformer and not sure about the wiring, or still choosing the right unit to install? Send us photos of your nameplate and terminal block, and we will confirm the connections and the correct model before you spend on an electrician.
Or talk to us directly: WhatsApp +86 197 3022 6757 · Email sales@wilmall.com
MOQ 10 pcs · Lead time 15-25 days · FOB Ningbo or Shanghai · 12-month warranty